CapCut Tutorial for Beginners: A Complete Editing Guide [2025]
Are you looking for a powerful, beginner-friendly, and completely free video editing app? CapCut is your go-to choice! This step-by-step guide will walk you through how to use CapCut—from installing the app to applying professional editing techniques like green screen, auto captions, smooth transitions, and more.

1. How to Download and Install CapCut
Start your editing journey by installing CapCut on your device:
- Search for CapCut: Open your browser and type “CapCut” or “CapCut for PC/Mac” to find the official download link.
- Download & Install: Follow the on-screen instructions to install the app like any standard software.
2. Interface Overview & Set Language to Vietnamese (Optional)
- Once CapCut launches, click on the gear icon at the top to enter settings.
- Choose Language and switch to “Tiếng Việt” if preferred. Click Save and restart the app to apply changes.
3. Starting Your First Project in CapCut
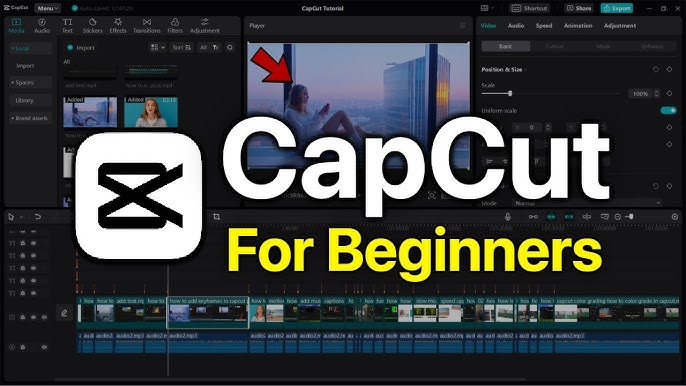
- Create Project: Click “New Project” to enter the main editing workspace.
- Import Files: Drag and drop video, image, or audio files into the media bin.
- Timeline: Arrange and trim your clips in the timeline at the bottom of the interface.
4. Audio Sync & Noise Reduction
CapCut allows you to sync external audio with video and reduce background noise:
- Auto Sync: Select your video and external mic audio, then click Sync to auto-align.
- Mute Original Audio: Drag volume sliders to 0 for unwanted audio sources.
- Noise Reduction: Select the audio file → choose Reduce Noise → adjust levels to minimize background sounds.
5. Basic to Advanced Video Trimming
- Split Clips: Position the playhead and click Split to cut unwanted parts.
- Delete Left/Right: Use quick delete options to remove specific sides of the clip.
- Use Markers: Pin important points on the timeline to add effects later.
- Undo/Redo: Use Ctrl + Z or toolbar icons to go back or redo actions instantly.
6. Advanced Video Editing Features
CapCut offers powerful tools for professional-level editing:
- Mask Tool: Apply circular masks to highlight faces or sections.
- Skin Smoothing: Remove wrinkles, brighten eyes, or reshape the face with built-in beauty tools.
- Background Remover: Go to Remove Background → apply AI-powered auto keying even without a green screen.
- Keyframe Animation: Add motion effects like zoom in/out or object movement between two keyframes.
- Speed Control: Adjust playback speed to create slow motion or time-lapse effects.
7. Adding Effects and Transitions
Make your videos more dynamic:
- Video Effects: Go to Effects → choose filters like lens flares, lightning, or distortion.
- Transitions: Drag transition effects between two clips for smooth scene changes.
- Transition Sound FX: Add whoosh or swipe sounds for extra emphasis.
8. Add Creative Audio & Stickers
- Sound FX: Add sound effects like laughter, applause, or whooshes.
- Adjust Volume: Customize fade-in/out or mute certain parts.
- Stickers: Insert arrows, icons, or animated emojis to highlight sections of your video.
9. Add Text and Auto-Subtitles
- Manual Text: Add custom titles, select font, style, and animation.
- Auto Captions: Go to Text → Auto Captions → choose language → CapCut auto-generates accurate subtitles.
- Edit subtitle fonts, colors, and effects to match your video style.
- Click Export at the top right.
- Select resolution (720p, 1080p, 4K), bitrate, and frame rate.
- Click Export to save the final video. Share it directly to TikTok, YouTube, or save it locally.
Final Thoughts
CapCut is the perfect all-in-one video editor for beginners and professionals alike. With advanced AI tools, built-in templates, and smooth performance across devices, it enables anyone to create stunning videos in minutes. Whether you’re making TikToks, vlogs, or tutorials—CapCut gets the job done.
Need more help? Check out our detailed guides like:


